

Creating a beautiful and functional website often starts with an engaging design. Many designers use Figma to visualize website interfaces before development. However, turning those visual ideas into a live WordPress website can seem challenging, especially if you’re not a developer. As such, this guide will walk you through the entire Figma to WordPress conversion process in a clear, simple, and practical way.
Why Convert Figma Designs to WordPress?
Converting your Figma designs into a WordPress site is one of the most effective ways to bring creative concepts to life.
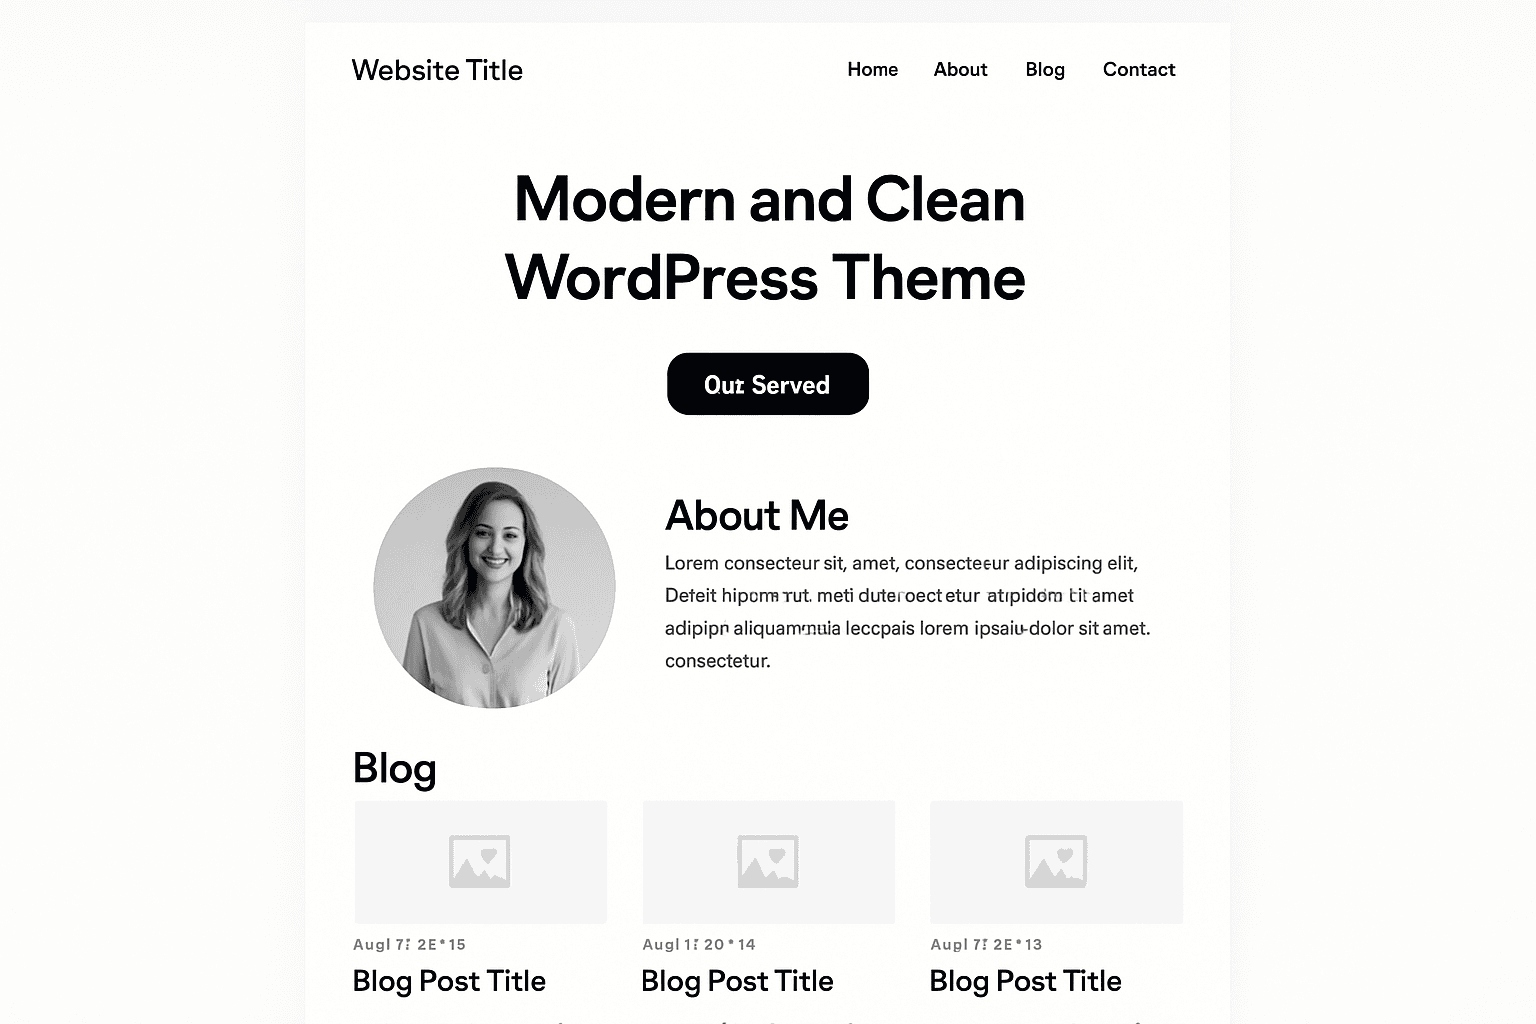
Figma allows designers to craft visually stunning layouts, but WordPress turns those ideas into fully functional websites that drive results.
- From Design to Reality: While Figma focuses on design, WordPress handles development and interaction. This transition ensures your creative vision becomes a working digital experience.
- Ease of Management: WordPress provides an intuitive dashboard that allows you to update text, media, and layouts effortlessly. No coding required.
- Flexibility and Scalability: With thousands of plugins and themes, WordPress lets you expand functionality as your business grows.
- SEO and Performance Benefits: Unlike static designs, a WordPress website is SEO-friendly and optimized for speed, resulting in improved visibility and enhanced user engagement.
In short, converting Figma designs to WordPress unites creativity with functionality seamlessly.
Understanding the Figma design to WordPress Conversion Process
The conversion process transforms your Figma designs into a fully functional WordPress theme. This involves translating visual elements into HTML code, CSS code, and WordPress templates. The steps depend on your technical skills, available tools, and the complexity of your Figma project.
In general, there are three main approaches:
- Professional Services
- Manual Conversion
- Using Figma Tools or Plugins (Automated Conversion)
Method 1: Professional WP Conversion Services
One of the most reliable ways to convert Figma designs into a WordPress website is by hiring professional conversion services such as Seahawk Media.
Our experts ensure accuracy, speed, and quality throughout the process, saving you time and effort.
- Expertise and Experience: We specialize in Figma to WordPress conversion, ensuring every design element is recreated with precision and clean code.
- Time-Saving and Efficient: Instead of spending hours on manual adjustments, professionals handle the entire workflow, from exporting assets to final integration, efficiently.
- SEO and Performance Optimization: We don’t just convert; we optimize your website for SEO, speed, and responsiveness across different devices.
- Support and Maintenance: With ongoing technical support and updates, we help you maintain long-term website performance and security.
Thus, professional conversion services ensure a smooth, worry-free transition from design to development.
Turn Your Figma Dreams Into a WordPress Reality!
Stop imagining and start building; transform your stunning Figma designs into a powerful, live WordPress site today.
Method 2: Manual Figma to WordPress Conversion
If you want full design control and a pixel-perfect Figma result, manual conversion is the most precise approach. Although it requires some coding knowledge, it provides flexibility, customization, and a deep understanding of your website’s structure.
Step 1: Export Assets from Figma
Begin by exporting all design assets, including images, icons, and illustrations, from your Figma file. Use appropriate formats, such as PNG, SVG, or JPG, and ensure each file is properly named and organized.
Step 2: Inspect and Copy CSS
Switch to Dev Mode in Figma to inspect elements and copy the CSS code. This helps you replicate the visual styling accurately.
Step 3: Write HTML Structure
Recreate the layout using HTML code, following semantic tags and accessibility best practices for a robust structure.
Step 4: Apply CSS Styling
Integrate the copied CSS and adjust the spacing, alignment, and responsiveness for various devices, including tablets and mobile phones.
Step 5: Convert to a WordPress Theme
Divide your files into WordPress templates like header.php, footer.php, index.php, and style.css. This converts your static design into a functional WordPress theme.
Step 6: Test and Optimize
Finally, upload the theme, test responsiveness, check speed, and make manual adjustments for smooth performance and clean code.
Step 7: Add WordPress Functionalities
After structuring your theme, it’s time to add essential WordPress functionalities. Integrate dynamic elements such as menus, widgets, and featured images using PHP functions. This step transforms your static layout into a fully functional WordPress website that’s easy to manage.
Step 8: Configure the Theme in Dashboard
Upload your theme folder to the WordPress dashboard and activate it. Then, navigate through the Site Editor or Theme Customizer to set up your logo, navigation menu, and homepage layout.
Step 9: Optimize for Performance and SEO
To ensure your site runs smoothly, minify CSS code and HTML code, compress images, and enable caching. Add SEO plugins to boost visibility and maintain a clean code structure.
Step 10: Test on Different Devices
Before going live, test the website’s responsiveness on various devices, including desktops, tablets, and mobile phones. Make manual adjustments for alignment, spacing, and loading time to optimize performance.
By completing these final steps, your WordPress theme evolves from a static layout into a dynamic, responsive, and SEO-optimized WordPress website, one that’s ready to engage visitors and expand your online presence.
Method 3: Automated Tools to Convert Figma to WordPress
Several Figma plugins and tools now make it easier to convert Figma designs to WordPress without writing heavy code. These tools generate seo friendly code and offer export options directly from your Figma dashboard.
- Anima is a popular tool that lets you export Figma designs into responsive HTML code and CSS. It’s great for rapid prototyping and includes an auto layout feature to maintain responsiveness.
- Framer or Builder.io simplify WordPress conversion by integrating visual design with real-time development. You can test, tweak, and publish faster.
- Figma to Code Plugins that allow you to export designs directly to WordPress-ready files. You can even export a JSON file that contains layout data for further customization.
- If you use the Elementor Page Builder, you can easily import your Figma assets. Elementor enables drag-and-drop editing with Elementor widgets, allowing you to visually recreate your Figma designs with ease. You can even build custom widgets using the Elementor widget builder.
- Bricks Builder and Gutenberg Blocks are also great for turning static designs into dynamic content. Both tools allow you to control design elements visually without requiring extensive manual work.
How to Convert Figma Designs Using Elementor
Using Elementor is one of the easiest and most efficient ways to transform your Figma design into a working WordPress website. It requires no coding and allows you to visually recreate your layout using drag-and-drop tools. Here’s how to do it step-by-step.
- Step 1: Export from Figma: Start by exporting all design components (buttons, sections, and images) from your Figma file. Ensure your assets are optimized for web use.
- Step 2: Install Elementor Plugin: Next, install and activate the Elementor plugin on your WordPress dashboard. It’s your main tool for visual design and customization.
- Step 3: Create a New Page: Add a new WordPress page and open it with Elementor. This is where you’ll begin designing your layout.
- Step 4: Recreate the Layout: Use Elementor widgets to replicate your website layout. Simply drag and drop text boxes, buttons, and images to mirror your Figma design.
- Step 5: Fine-Tune the Styles: Adjust fonts, colors, and spacing to match your original vision. Elementor’s global styling ensures consistency across entire pages.
- Step 6: Preview and Optimize: Finally, preview your site on different devices and optimize for mobile responsiveness. Elementor also supports dynamic content, making your website interactive and engaging.
Method 4: Exporting to WordPress Using JSON or Code (Bonus)
Modern Figma designs to WordPress workflows have become faster and smarter, allowing designers to export structured data that simplifies development. Whether you prefer using a JSON file or traditional code, both methods help streamline the conversion process.
- Exporting Using JSON File: Figma now supports exporting design data as a JSON file, which retains details like spacing, color codes, and hierarchy. You can import this file directly into a starter theme or compatible builder, saving time and preserving accuracy.
- Exporting Using HTML and CSS Code: You can export your HTML code and CSS code for deeper customization. This method offers developers more flexibility to tweak structure, styles, and responsiveness during integration.
Both approaches are efficient, but the choice depends on your comfort level and project complexity: JSON for speed, or code for complete control.
Tips for a Successful Conversion Process
Converting Figma designs into a WordPress website requires attention to detail and careful planning. Even small adjustments can make a significant impact on your website’s performance and visual appeal. Follow these practical tips to ensure a smooth and efficient conversion process.
- Plan Ahead: Before starting, organize your Figma project properly. Name all layers clearly and group related elements. This will make exporting assets and translating layouts much easier later.
- Use Auto Layout: Figma’s auto layout feature keeps your designs adaptable. It ensures your website remains responsive across different devices, maintaining consistent alignment and spacing.
- Keep It Clean: Focus on producing clean code that loads quickly. A tidy codebase enhances site performance and simplifies future edits.
- Optimize Images: Before uploading, compress your images without compromising quality. This step significantly improves load time and user experience.
- Test Often: Regularly preview your WordPress website during development to ensure it’s working as expected. Check for layout issues, responsiveness, and design consistency.
Keeping Your WordPress Website Optimized After Conversion
Launching your website is only the beginning. To maintain peak performance, your WordPress website needs regular optimization and care. These simple yet essential steps will keep your WordPress conversion fast, secure, and search engine-friendly.
- Update Plugins Regularly: Always keep your plugins up to date. Updates fix bugs, enhance security, and ensure compatibility with the latest WordPress version.
- Compress Media Files: Large images can slow down your site. Compress all media before uploading to maintain quality while improving loading speed.
- Use Caching and SEO Plugins: Install caching tools and SEO plugins to boost performance and visibility. They help your pages load faster and rank higher on search engines.
- Test Performance Frequently: Use tools like Google PageSpeed Insights to monitor your website’s speed and fix any performance issues promptly.
- Maintain Security: Keep your WordPress core and themes up to date to prevent vulnerabilities and protect user data.
Final Thoughts
The Figma design to WordPress website conversion process can be straightforward with the right approach. Whether you choose professional services or manual conversion for precision or use tools for simplicity, your goal remains the same: transforming creative Figma designs into a responsive, engaging WordPress site.
With practice, you’ll get faster and more confident in executing each step. Remember, quality design and clean code together lead to a professional website.
So, take your design, follow the conversion process, and start building your WordPress masterpiece today!
FAQs About Figma to WordPress Conversion
Can WordPress users convert Figma designs without coding?
Yes, WordPress users can easily convert Figma designs using drag-and-drop tools or plugins that simplify the design conversion process.
What is a generated theme in Figma design to WP conversion?
A generated theme is the automatically created WordPress theme based on your exported Figma layout and design structure.
Does Gutenberg Page Builder support Figma-based designs?
Yes, you can rebuild Figma layouts using the Gutenberg Page Builder by adding blocks that match your design.
How does the export process work?
The export process involves exporting assets, layouts, or code from Figma and importing them into WordPress for development.
Is there an advanced mode for professional customization?
Yes, some tools offer an advanced mode that lets developers fine-tune code, animations, and interactions.
Can I use the free plan for conversions?
Many tools and platforms offer a free plan or free version with basic features before upgrading for advanced features and unlimited conversions.
What if I need help with setup or activation?
You can follow detailed instructions or seek professional assistance to configure your license key, handle multi-layer vectors, and apply edits in the block editor or new theme effectively.